All you need is a paper clip.
The seal on these tanks is spring loaded, so here's what you do. Press
down on the lid - you'll feel the spring depress and the back side of
the cap will get closer to the tank (the end with the lock in it). Look
under there and you'll see a little hooked lever - that's what you have
to move forward, out of the way with the paper clip. You'll be pushing it forward
towards the front end of the bike - this little hook is spring loaded too. Once you have the little clip pushed
past the bar (see the pic below) you can release pressure from the
whole cap and it should come open.
This is what the top of the tank bung looks like just to give you a feel for what you're working with:
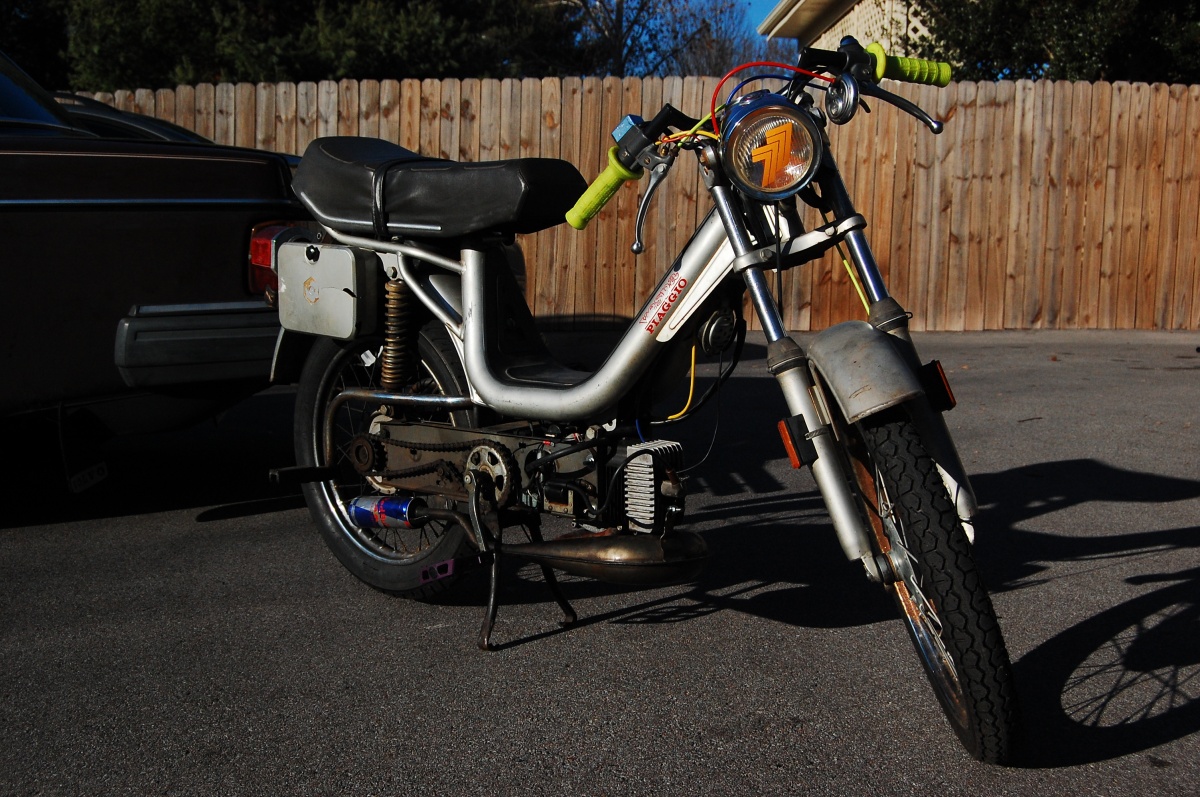
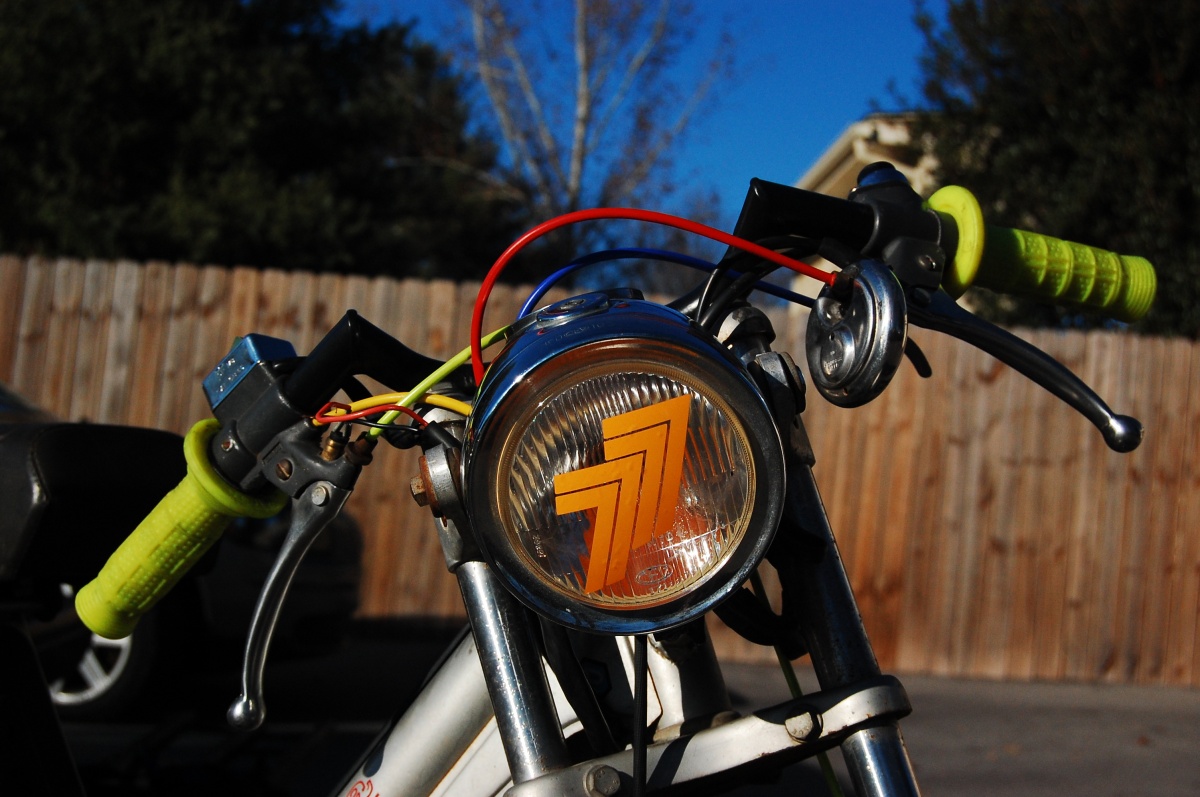
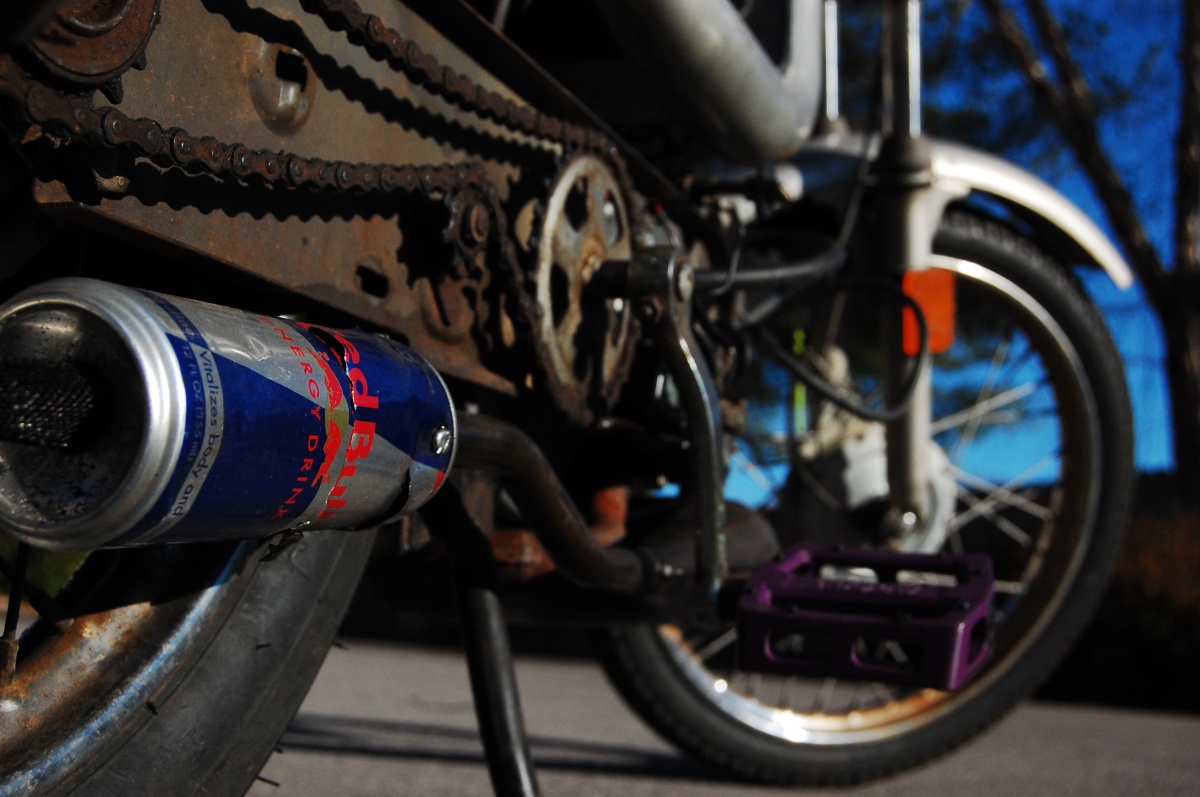
Here is the build progression of the PucHonda motorcycle... Copied from my build thread on another site.
SPECS:
1974 CT70 Engine
1978 Puch Moped frame
1970's Range Rover Green
Magnum Swingarm
ATC70 4 speed transmission
88cc cylinder kit
Honda HOT cam w/ 5.1mm lift
19mm Dellorto Carb
Puch Exhaust Header intake manifold
CR80 forks
General 5 star moped tank
Yamaha FS1 reproduction seat
17" rims front and back
12v rectified/regulated electrical system
Halogen up front
LED in rear
egay clip ons
New japanese valves
New gaskets
New seals
All new NTN bearings only
New cam chain
New points
this was a super f'd pinto with no wheels, no motor and a crusty tank.
It was $40 and had been sitting for months. The fellow mopeder I bought
it off of was thrilled to see it being used - even if four stroke.
I sold all the parts SUPER cheap off of it as a sacrifice to the moped gods.
I started this thing in november when I started rebuilding my $20 CL
motor (which has now got waaayyyyy more than $20 in it), our welding shop
at school got shut down, I searched for a month for a place that would
let me weld and a redbull sponsored welder let me finish the fab at his
shop - Preston Farabow in knoxville. The general tank I pryed out of the
hands of an ebay seller trying to get insane monies for a v1 general,
the forks were pieced together from ebay, the magnum swingarm was
leftover from a variated magnum project from robert prichard in
nashville.
After I got it built it ran but didn't run right. I assumed timing was
set because I gapped the points but I assumed wrong. Trouble shot
compression and valve timing for a month when it was just timing -
gapping points is NOT timing on these motors. Timed it and it blasted,
then discovered a cracked exhaust valve, so I threw new japanese valves
in the head. Replaced valves, and then the clutch couldn't handle the
power so I had to throw race springs in that.
Rode it in richmond pretty much for the first time outside the neighborhood. It's a blast.
I love two stroke and I've got two stroke builds going on right now too - so hate on the bike but not me.
Had a guy ask me about vespa wiring, and I sent this as a response. Figured I'd post it so more people than just him can enjoy it. This is written for bikes with turn signals, but applies to pretty much all vespas.
An Overview
You should have four wires coming from your stator area if you have turn signals. Two should be white, one should be blue, and the other wire goes with the blue wire (don't remember color, could be any). Just the blue and violet if you don't have turn signals.
Power for lights and horn comes from the red plug in on the side of the case and the copper grounding strap. Red and black wires from your harness should plug in here respectively. This is 6VAC for lights and horn - but does NOT power your brake light, only your tail running light, headlight and horn.
The two white wires are a 6v coil with floated ground used to power a full wave rectifier and charge your lead acid battery which powers the turn signals - disregard these two if you don't care about turn signals.
The last two are the ones for the ignition. The blue/violet is for the HT coil. It has a split where it plugs into the wiring harness. One side goes directly to the HT coil, the other into the harness where the lead is grounded to the frame when you hit the kill switch dumping the ignition coil voltage to frame ground.
The ground lead from the ignition/exciter coil goes through the brake light switches and brake light filament. When the levers aren't pulled, the path of least resistance is through the switches and this is where if flows. When you pull the brake lever, it breaks the circuit through the switches that are dumping all the voltage from the other half wave of the ignition coil when they aren't pulled. This voltage needs to go somewhere so it goes through the filament of the bulb and lights your brake light.
Consequently, if your brake light is out and you pull the brakes, there'll be nothing for the ignition to ground to, you'll lose spark and your bike will shut off. It's a safety feature from Vespa.
Here's a harness for a Grande with turnsignals I use to troubleshoot my bike. Click on the image, right click and select "view image". Then you can zoom in to read detail.
Have you lost your spark? Let me help you find it.
STEP 1
First things first. Find your HT coil - this is the box that your spark plug wire is connected to. You should have ONE wire coming into it connected to a spade terminal. Remove that wire (it is likely violet) and connect your voltmeter to that wire and frame ground.
this is what an HT (high tension) coil looks like. Notice the spade connector in the center of the picture.
Next step is to verify your kill switch is working. Turn the bike to "OFF" - you should have continuity (close to zero resistance). Now turn the bike back "ON". You should be showing some resistance or an open circuit. If you have zero resistance when the bike is in the "RUN" position, you've got a short somewhere. You must find this short before the HT coil will spark the plug. *Note: Make sure you know the difference between open circuit and zero resistance. To see open circuit, disconnect the leads from everything - this display reading is open circuit. Now touch the two leads together while reading resistance - it should go to 0.00. This is zero resistance continuity. Cool! Your kill switch works!
STEP 2
Now, let's check for voltage at the
HT coil. Leave the voltmeter connected to the wire going in the HT coil
and switch your voltmeter to read voltage. Try to start the bike by
turning the engine over. If you don't see at least 3-6volts - it's
likely that you won't see spark. If you see less than 1v, you have a
weak coil or draw somewhere between your coil and your spade connector
going into your HT coil. If you have voltage here, it's likely that you
have a bad HT coil. If you have no voltage, please continue. If you HAVE voltage, SKIP to STEP 6.
STEP 3
Next step
is to verify that your exciter coil is grounding so it can send a pulse
to the HT coil. Find the BLUE wire coming from your engine, disconnect
the blue wire (and leave the violet wire disconnected as well). DO NOT
connect your volt meter to the blue wire going in to the engine, but
instead, connect it to the plug on the wiring harness where your blue
wire unplugged from. If you do not have a blue wire, the wire you need
to connect to is the one that is not violet, is not connected to violet
and is not grey. Once you have found this wire, set your meter to ohms. Connect to the wire on the wiring harness/the bike
that is blue or was connected to blue AND frame ground. You should read
zero resistance continuous. Pull the brake lever - you should see a
slight increase in resistance. If you do not and your meter reads an
open circuit, your brake light bulb is missing or the filament is out. If everything here checks out, continue. If it doesn't, fix it, then repeat step 2. COOL! Everything outside your engine is working as it should... time to investigate under the flywheel.
STEP 4
Time to clean and gap those points! Remove the rubber plug from your flywheel. Rotate it until you can see the points. They look like this:
At this position, the points should be open. If they are not, adjust them until they are. You must loosen the screw and push the points against the points cam to increase the gap - this can be done with a screwdriver. Demonstration here @ 2:15 on how to set the points. You'll need a feeler gauge (or a good guess) and set them to .3-.5mm range and this should get it to run. You'll want to set timing to 17-19* BTDC once you get it running (worry about that later).
Now, lets clean the points. Take a fine grit paper (400-1000 will do) and rub it between the points - you are trying to remove oxidation and crud from the contact surfaces of the points so they can electrically connect. It is much easier to do this with the flywheel off, but you need a flywheel puller. After the points are cleaned, gapped and still closing, repeat STEP 2. If STEP 2 fails, continue on.
STEP 5
At thispoint, one of two things has happened. You suck and can't get your bike to pass test two because you suck at cleaning points OR your coil or condenser are bad. The later is more common than the former. So if you don't want to pull your engine out, try to do a better job of cleaning those points and getting your bike to pass test 2!
For this step, you will need to remove the flywheel unless you have an externally mounted condenser. You will not have an externally mounted condenser unless your bike had turn signals. Even so, you'll probably still have to remove the engine.
Once you have the engine out and the flywheel removed, you want to test the resistance across the exciter coil. You want this to measure anywhere between .1 and 2 ohms. Open circuit is bad. If you have an open circuit, you did the test wrong, or you need a new coil. So make sure you did it right before ordering a new coil.
In order to get a useful reading, remove the points, condenser and exciter coil from the case and connect the voltmeter to the blue wire/wire that was connected to the blue wire on the wiring harness AND the other lead is connected to somewhere inbetween the coil and the condenser (this should be the violet side of the coil). A good place to connect your second lead is to the solder connection on the coil or to the solder connection on the condenser. Make sure the wire ends are not touching anything.
If your bike passes this test and still doesn't pass test 2, you likely need a new condenser. Replace the condenser and repeat STEP 2.
STEP 6
So, you HAVE VOLTAGE from your violet wire. YAY! If you don't, turn yourself around and go back to step two.
It's time to check the HT coil. Measure the resistance between the spade terminal and frame ground - it should be in the 1-4 ohms. If it is open circuit, you need a new HT coil. If it is excessively high or less than 1, you likely need a new HT coil or have a bad HT coil ground.
Next remove the spark plug wire from the HT coil, or remove the spark plug boot from the end of the spark plug wire and insert the voltmeter lead into the spark plug wire innards to make contact with the conducting filament or screw inside the HT coil the plug wire screws onto. Measure resistance between frame ground and the screw connection/inside of the spark plug wire. This should read in the 10's. If it is open circuit, you need a new HT coil or have a bad HT coil ground. If it passes one HT coil test, but not the other, it is likely the coil and not the ground that is bad.
STEP 7
Test your plug wire and spark plug boot next. Your plug wire from end to end WITHOUT the spark plug boot should be zero continuous unless it's a resistor wire (should be marked if it is).
To test the spark boot, put one test lead on on the coarse threads that thread into the spark plug wire, and one end on the other end ensure you are making contact with the contact that touches the electrode tip of the plug. You should read 5k ohms for the stock boot (it also should be marked) if you read open circuit you need a new plug boot. If you have a different than stock plug boot you may have more, less or no resistance - it should never be open circuit though.
If your meter isn't autoranging, make sure you aren't trying to test outside the range of your current setting.
STEP 8
If your bike has passed all these tests - you have done the tests incorrectly.
If your bike has weak spark and all your zero resistance continuous checks are good, try increasing your point gap slightly. If you increase the point gap so much that the points never close, your bike will not spark. Once you have your bike running, try to find the factory ignition timing and gap specs and set the bike to those.