Showing posts with label puch. Show all posts

Tuesday, June 30, 2015

Crankshaft Small End Bushing Replacement for Puch, Vespa, Tomos, etc.

So, I've had the puch factory tools for bushing replacement for quite some time now, but I haven't had an excuse to use them yet. I finally did. I personally don't mind brass bushings too much. They're cheap, and when they blow up, it's not catastrophic. If this setup was identical with a needle roller bearing, I'm sure team vespa wouldn't have finished last year.

Last year, I thought by reseating a super leaky decomp in the middle of day 4, I caused my compression to go dangerously high. It turns out the knocking noise I attributed to this, was an ovalled out piston and subsequently damaged connecting rod.


There was no blowby, the stock rings were in great shape, and no material degredation to the piston crown or head indicating any type of detonation or preignition (it went on for 1.5 days, so if that was it, there'd be evidence! ). In addition, cylinder head temperatures were normal if not low and resulted in "detonation" at varying and inconsistent RPM's despite 4 stroking in the midrange. I didn't find this until after having ridden the bike on several rides in Nashville after pinball. I took it apart for a last inspection before I solely focused on my other engine, and noticed this. This was a pretty high mileage stock engine.... probably 5k miles on the stock crankshaft and bearings (yes, still the stock crank and bearings from when I bought it on craigslist). I rebuilt it with the DR65 in Fall 2012 and have had this engine running since.

The big end still feels great, and so do the bearings, so I finally had the perfect candidate to replace a bushing on a bushing crank. First step, remove the stock bushing!!!! Simply insert the puller, tighten the nut and out pops the bushing (press fit).


Next, you want to press in the new bushing. There's another cup that comes with the tool to do this. The threads stop at the perfect depth (I guess, puch and vespa were on the same page small end wise).


Before you ream out the bushing, make sure to drill oil holes if your conrod has them. This bushing has fancy oiling grooves cut in the inner face in addition to the holes I added for the stock oil holes.


Next, install/clamp the reamer guide onto the crankshaft. The factory tools are left hand thread for the clamp.

The non-cutting end of the reamer serves as an alignment feature.
The taper is pressed into the non reamed bushing while the clamp is tightened so that the bore of the clamp that guides the cutting end of the reamer is centered.

Once you have the clamp installed, you can begin reaming the bushing. The reamer is adjustable to ream whatever clearance you might need for your pin. Believe it or not, pistons and wrist pins are not all clearanced the same! Puch has like 6 different size wrist pins! Each graduation on the reamer is .01mm as far as I can tell. I jumped up by .02mm each pass till I got close to the size I wanted and then dialed it in with calipers.


You wouldn't believe how much better a fresh bushing feels... It's like it's new again! We aren't done yet though... Now it's time to check and make sure your bushing is perpendicular to your cronrod. To do this, you'll need two equal height machined pieces of some sort to place below the conrod on the mating surface for the cylinder of the case. I used 8mm precision ground linear bearing rod (left over from 3D printing shenanigans).


I did a good job I guess! Didn't have to adjust the alignment of the conrod. Couldn't get any of my feeler gauge thicknesses under there.


I'll be sure to report back if it blows up.... but everything is as it should be... Obviously, I also installed a new piston and honed the cylinder for the new rings to seat on. The old piston is done, but I think I need to make a little shrine for it... hmmmmmm

Thursday, October 30, 2014

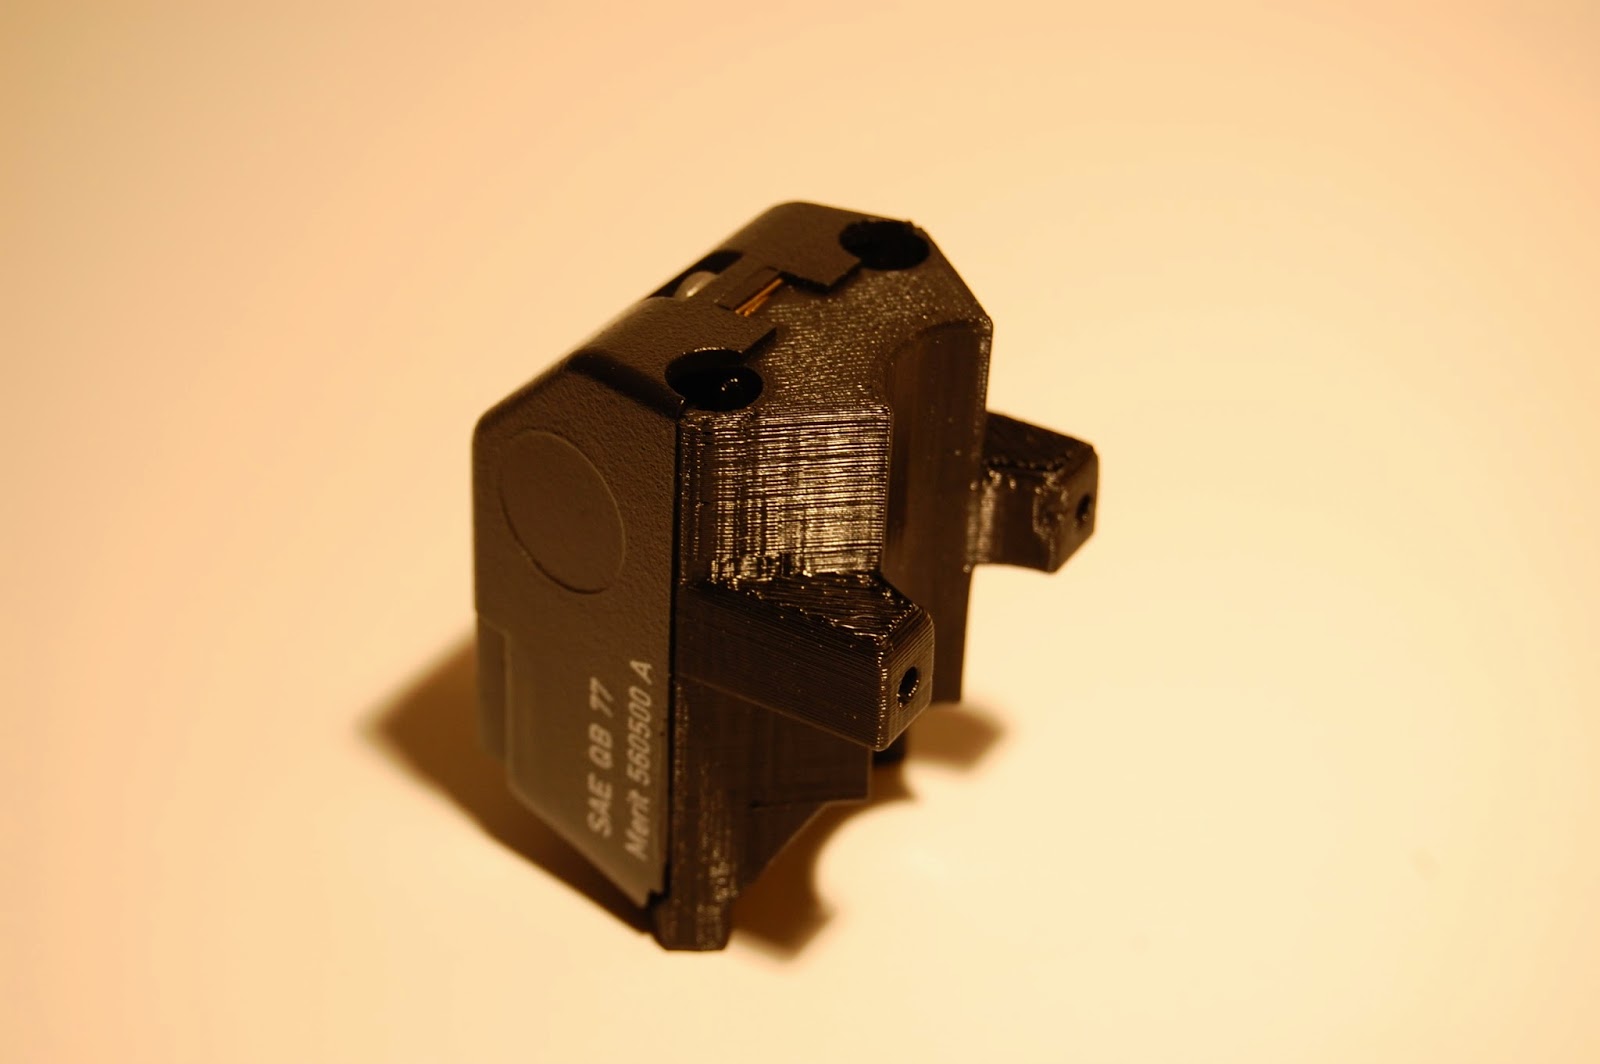
Magura Switch Bases For Puch!

Buy these if ya need em?!?! Unobtanium, now obtainium for competitive prices!
  • Compare at unavailable and $30 for one!
  • Re-use your existing hardware
  • Click these links below to purchase!!!
These ship mid next week in first class mail padded envelopes.


Monday, March 17, 2014

Trinket Arduino Dynamic Timing Video + Spring Break Update

So, first, the video you've all been wanting to seeeeeeee... the DYNAMIC DIGITAL IGNITION video!!! huzzah! Sexy curves in action:


monitoring the switching pin on the microcontroller to make sure it isn't going to be fried.
board prototype idea

This happened the day before I left for spring break and was glorious. Spring break packin:


I'm working on making this ignition more physically robust and perhaps making a debut of it at Inverness. I still have a little to do moped wise though and a lot to do car wise. Old Yeller has to be gone through entirely for road worthiness as the 2 inch hitch on that car could likely haul both bikes. If it can't, I may be inclined to take brownie since I know his service record better and he has many "new" parts. Brownie needs the new sport exhaust package installed from IPD though, so that has to happen tomorrow if it ever shows up. I'd have to throw a bike on the roof though, and that coupled with is 4 speed transmission = terrible gas mileage.


Spring break wrenching 2014 first up was the maxi. I'll get some new pics of it posted some time before I leave maybe, but I added some chrome trim to the frame and it is CLASSY. Wiring is cleaned up, painted and detailed flywheel and finished up all the little stuff (like shortening the speedo cable). This bike is done for a while till it gets a reed kit. ZA50 geared at 21x37 and has so far been GPS'd at 51mph with all stock parts.


Next up was the derbi. Lots to do to this little guy. I made a puller for the clutch... hardware was $3 total. Had the parts lying around since last time I was home ;) Then I raised the exhaust port a little and resealed the engine (no leaks, knocks on wood). Thought I needed new crank seals but turns out pre-mix was just running down the electrical into the stator (no airfilter) sweet. For some reason, the condenser all the sudden quit working though - like instantly. I was out riding and got a GPS speed of 41 out of it and then it started backfiring. Points arced like a beast, so I did a condenser and all was well. Nothing changed timing wise it just up and quit. Weird/LAME. Can't wait to put digital ignition systems on all my bikes. I also made a CVT cover because the thing throws junk ALL over the frame. GPS speed of 41 was with lots of airleaks, so I'm leaning it out now that it's sealed up.


The weather in Inverness will be glorious. I can't wait. High today was like 40 and last night it was flurrying.

Saturday, January 25, 2014

ZA50 Transmission and Crankshaft Shimming

Shims

Shims for the transmission and crankshaft can be found on McMaster-Carr or hand made with sand paper, time and a flat surface. Stock numbers for mcmaster carr are below.

clutch shaft diagram
 Clutch shaft:
  • 99432A364 - 0.127mm - Shim For Die Punches, .005" Thick, 3/4" Od, .595" Id 
  • 99432A366 - 0.381mm - Shim for Die Punches .015" Thick, 3/4" OD, .595" ID, packs of 10
  • 99432A449 - 0.635mm - Shim for Die Punches .032" Thick, .595" ID, 3/4" OD, packs of 10

Gearshaft Diagram

Generally, you'll use one 1.5mm shim to take up a majority of the space and then use the .1mm shims for final adjustment.

Gear shaft:
  • 98055A117 - Metric Spring Steel Shim - Din 988, 0.1mm Thick, 10mm Id, 16mm Od
  • 98089A123 - Metric 18-8 Stainless Steel Shim, 1.5mm Thick, 10mm Id, 16mm Od
Crankshaft Diagram


Crankshaft L17 side:
  • 98089A230 - Metric 18-8 Stainless Steel Shim .1mm Thick, 18mm ID, 25mm OD, packs of 25
  • 98089A270 - Metric 18-8 Stainless Steel Shim .2mm Thick, 18mm ID, 25mm OD, packs of 25

Crankshaft E20 side:
  • 90214A135 - Metric 316 Stainless Steel Shim 0.1mm Thick, 20mm ID, 28mm OD, packs of 5
  • 90214A236 - Metric 316 Stainless Steel Shim 0.2mm Thick, 20mm ID, 28mm OD, packs of 5

The only shims not available from McMaster are the 0.005mm shims for the L17 side - these are for the time being available from treatland.tv


End play float adjustment can also be done on the crankshaft by cutting multiple or individual case gaskets of differing thicknesses than stock. Measure your end play float and compensate with the appropriate paper thickness. When you're ready to cut your own gasket, us Mustachio's gasket template. Make sure to not scale the print to page size when you print and print it in actual size. You can download the case gasket template here. Stock gasket thicknesses are in the range of 0.2-0.25mm. The material I usually use ends up being a compressed thickness of 0.22mm. Card-stocks will get you differing thicknesses.


Tools


The only tool you really need to properly build these motors is the crankshaft shimming tool - everything else can be done with plastigauge or calipers and a straight edge. I highly suggest shipping your motor off with the gasket you intend to use to someone with the tool before installing your other bearing. Removing the bearings to change the shimming is difficult to do without damaging the bearing. Feel free to contact me and ship your motor to me.


The transmission shim tool is in my opinion not necessary with the use of  plastigauge which is available at any automotive store. Place a small bit of the plastigauge between two of the shims or the shim and bearing and use the gauge to measure the gap. I usually place two pieces 180* out or even four pieces 90* out to make sure that equal pressure is applied to the plastigauge. Make sure to install the gasket and torque all of your case cover bolts down to spec where you will be running it, then and only then, remove your case cover and measure the plastigauge. Adjust your shims according to your readings and re-measure. Continue until your readings are reasonable. I usually shoot for tighter tolerances the more power I'm putting through, but as long as you're within specs, you're good.

Wednesday, December 4, 2013

ZA50 Crankshaft Measuring Tool Dimensions 905.6.32.107.0

For those of you wanting to make your own shim tool or are curious as to the stock dimensions, here they are. This should be everything you need to build your own.


This is not a critical measurement, the bottom of the midsection piece where the hole is not finished or machined. This measurement just needs to be ballparked to clear the crank.

This is essentially flush - again, the midsection perpindicular to the measuring tube and legs is not machined. It just need to be roughly inset from the tops of the legs.


Tuesday, April 23, 2013

THE STABLE

Brownie - the 1984 244 355k mi

Old Yeller - 78 242 unknown miles

1966 Benelli BN4 125cc - in progress

1985 General 5 Star - 505/3BX

The Puchonda

Swinger 1

1978 Vespa Grande
Honda S90
1978 Maxi Sport MKii (the one that started it all)
1978 Puch Mocha Magnum - in progress

"Blue Boy" 1972 CB100 (left) and 1974 CB125 (right)