So, if you've stumbled across this post, you are exploring cheaper options than the XeMODeX, Sacer, $1100 volvo dealer quote and even the $150 programming fee for swapping in a used unit.
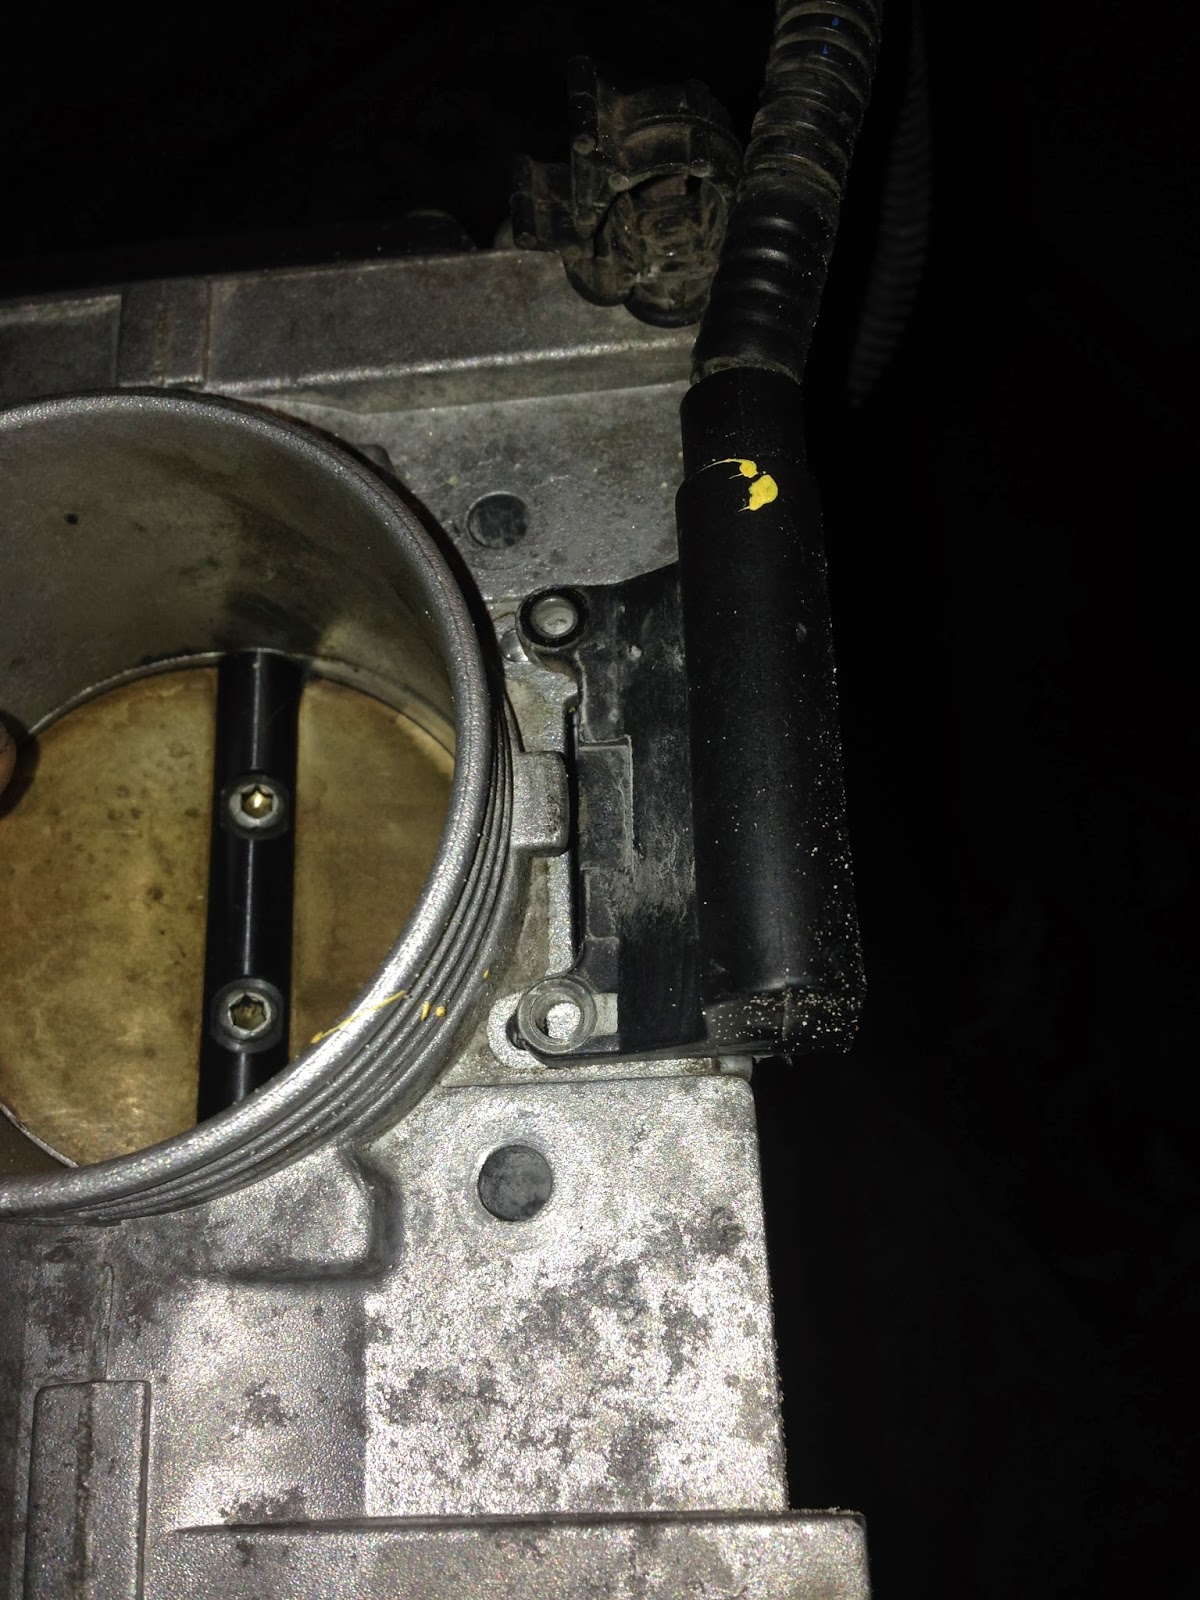
The ETM failed on this car because the TPS was loaded with oil. The crankcase breather on this car had clogged and the vehicle was leaking badly from the oil seals, resulting in the plug chambers on the head being full of oil and causing misfires and a failed crank position sensor due to oil saturation.
I originally disassembled the unit to clean it. Once clean, it worked perfectly. I hadn't gotten all the codes with the TPS repair (although, all the ETM related codes went away after the cleaning) and ended up diagnosing the remaining faults as a MAF. After MAF replacement, all codes were gone and the car ran phenomenally.
I then had to remove the ETM to reseal it after messing with it, and upon reinstallation (at 2am) I put it in backwards and the locating pin for the throttle body broke a chunk out of the throttle body housing.
I ordered a known good ETM from ebay from a running vehicle and swapped the brain from the original, now damaged ETM into the good throttle body with already clean sensors.
Here's how to remove the brain from the ETM. (or you can send your unit to me and let me clean it with special potentiometer cleanser/lubricant and reassemeble and reseal - see below)
Step 1:
Gingerly remove the aluminum cover. Work your way around bit by bit, edging and breaking the silicone seal. DO NOT bend the plate up because you will have to reuse it.
Step 2:
Use a dremel attachement or screw driver to remove the potting compound around the leads to the brain. They are pretty heavy duty and I never came close to breaking them, but you must still be aware of them.


Step 3:
Once the potting has been cleared from both sides, cut the connections with a dremel tool. They are spot welded from what I can tell and there is no desoldering them.
Step 4:
If you are just removing the caps for cleaning, skip this step.
If you are just swapping the computer, skip steps 5 and 6 and repeat removal for the ETM with good sensors so you can install your programmed computer into the good body.
Remove the screws on the pigtail for the harness connection, and the four screws holding the computer. The computer should now slide out. Be careful not to break the connection between the computer and the pigtail - ensure they come out together at the same speed or remove them one at a time (this will require re-soldering).
Step 5:
Remove the end caps containing the potentiometer. NOTE: The side with an oblong cap has connections in it for the motor that actuates the ETM motor. Remove that cap (it is fused on, but should break free) and desolder the coil winding from the cap before removing or you will BREAK THE MOTOR.
Step 6:
Once the caps are removed, remove the tin retaining caps for the sweeper arms to get at the resistor strip and arm - clean both, taking great care not to damage the sweep arms. Clean the sweep arms and the resistor strips. Inspect for wear. If there are signs of a damaged strip, you can reassemble, but cleaning may not be of use.

Step 7:
Reassemble the unit. Use proper soldering techniques to ensure a good connection with the brain and then motor and two sensors. Use gas resistant RTV to seal the unit.
No comments:
Post a Comment