Monday, March 24, 2014
Monday, March 17, 2014
Trinket Arduino Dynamic Timing Video + Spring Break Update
So, first, the video you've all been wanting to seeeeeeee... the DYNAMIC DIGITAL IGNITION video!!! huzzah! Sexy curves in action:
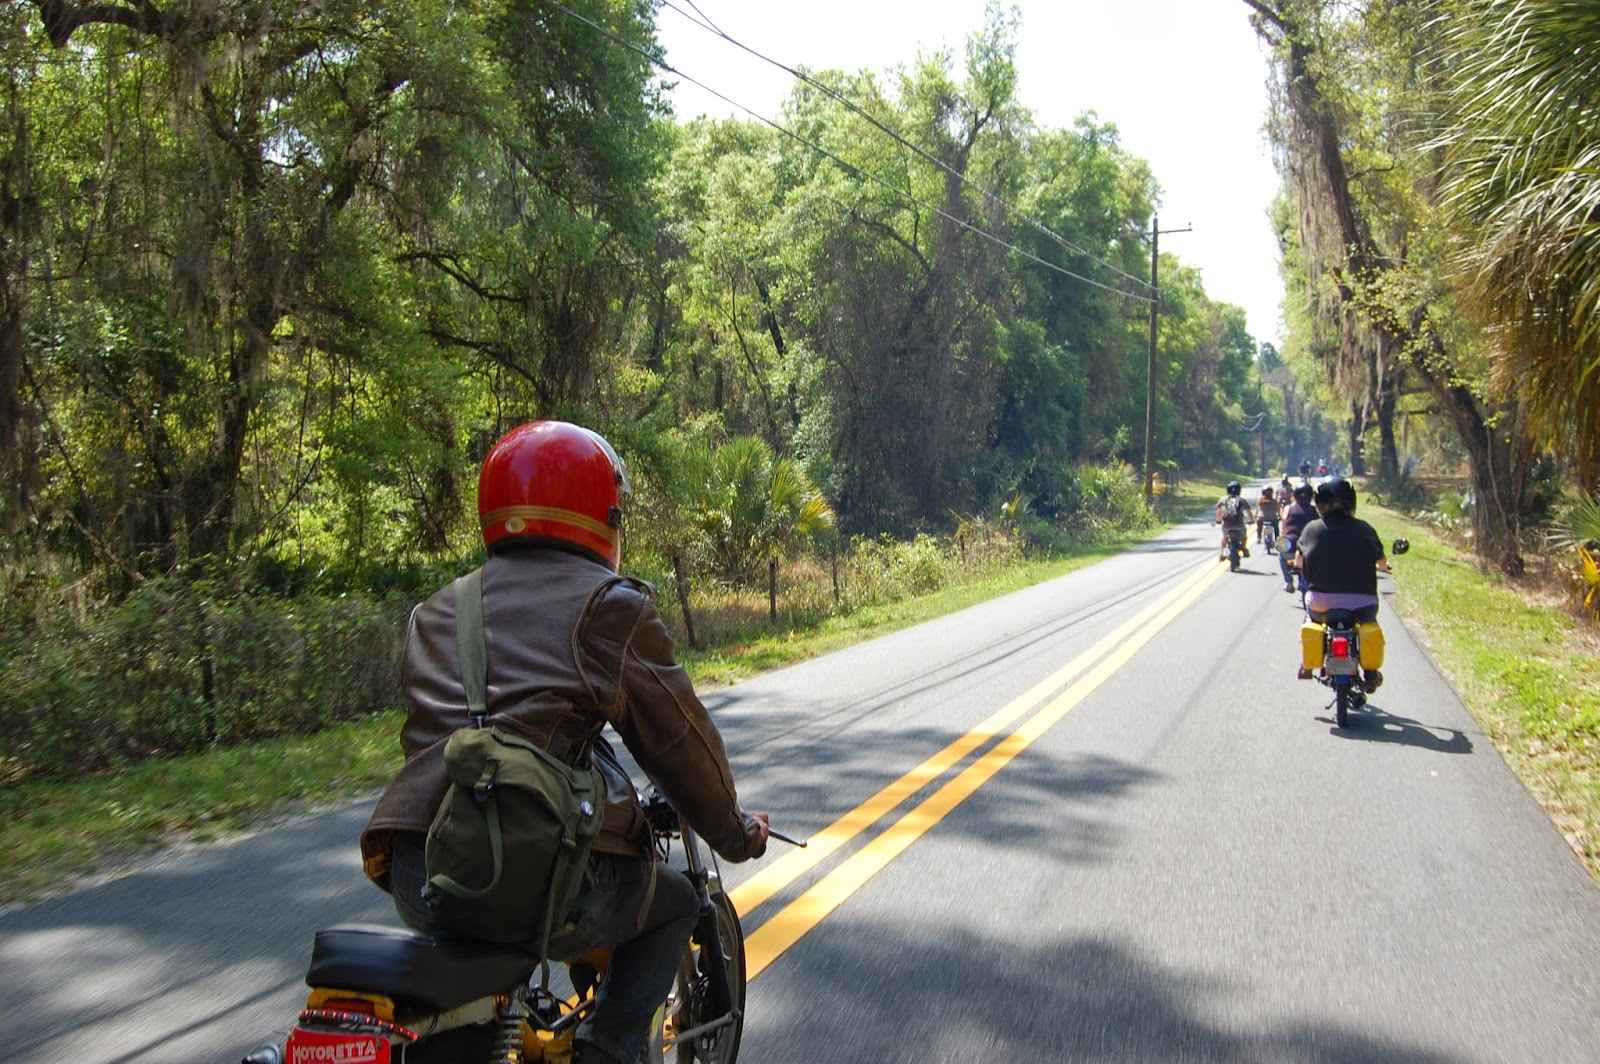
This happened the day before I left for spring break and was glorious. Spring break packin:
I'm working on making this ignition more physically robust and perhaps making a debut of it at Inverness. I still have a little to do moped wise though and a lot to do car wise. Old Yeller has to be gone through entirely for road worthiness as the 2 inch hitch on that car could likely haul both bikes. If it can't, I may be inclined to take brownie since I know his service record better and he has many "new" parts. Brownie needs the new sport exhaust package installed from IPD though, so that has to happen tomorrow if it ever shows up. I'd have to throw a bike on the roof though, and that coupled with is 4 speed transmission = terrible gas mileage.
Spring break wrenching 2014 first up was the maxi. I'll get some new pics of it posted some time before I leave maybe, but I added some chrome trim to the frame and it is CLASSY. Wiring is cleaned up, painted and detailed flywheel and finished up all the little stuff (like shortening the speedo cable). This bike is done for a while till it gets a reed kit. ZA50 geared at 21x37 and has so far been GPS'd at 51mph with all stock parts.
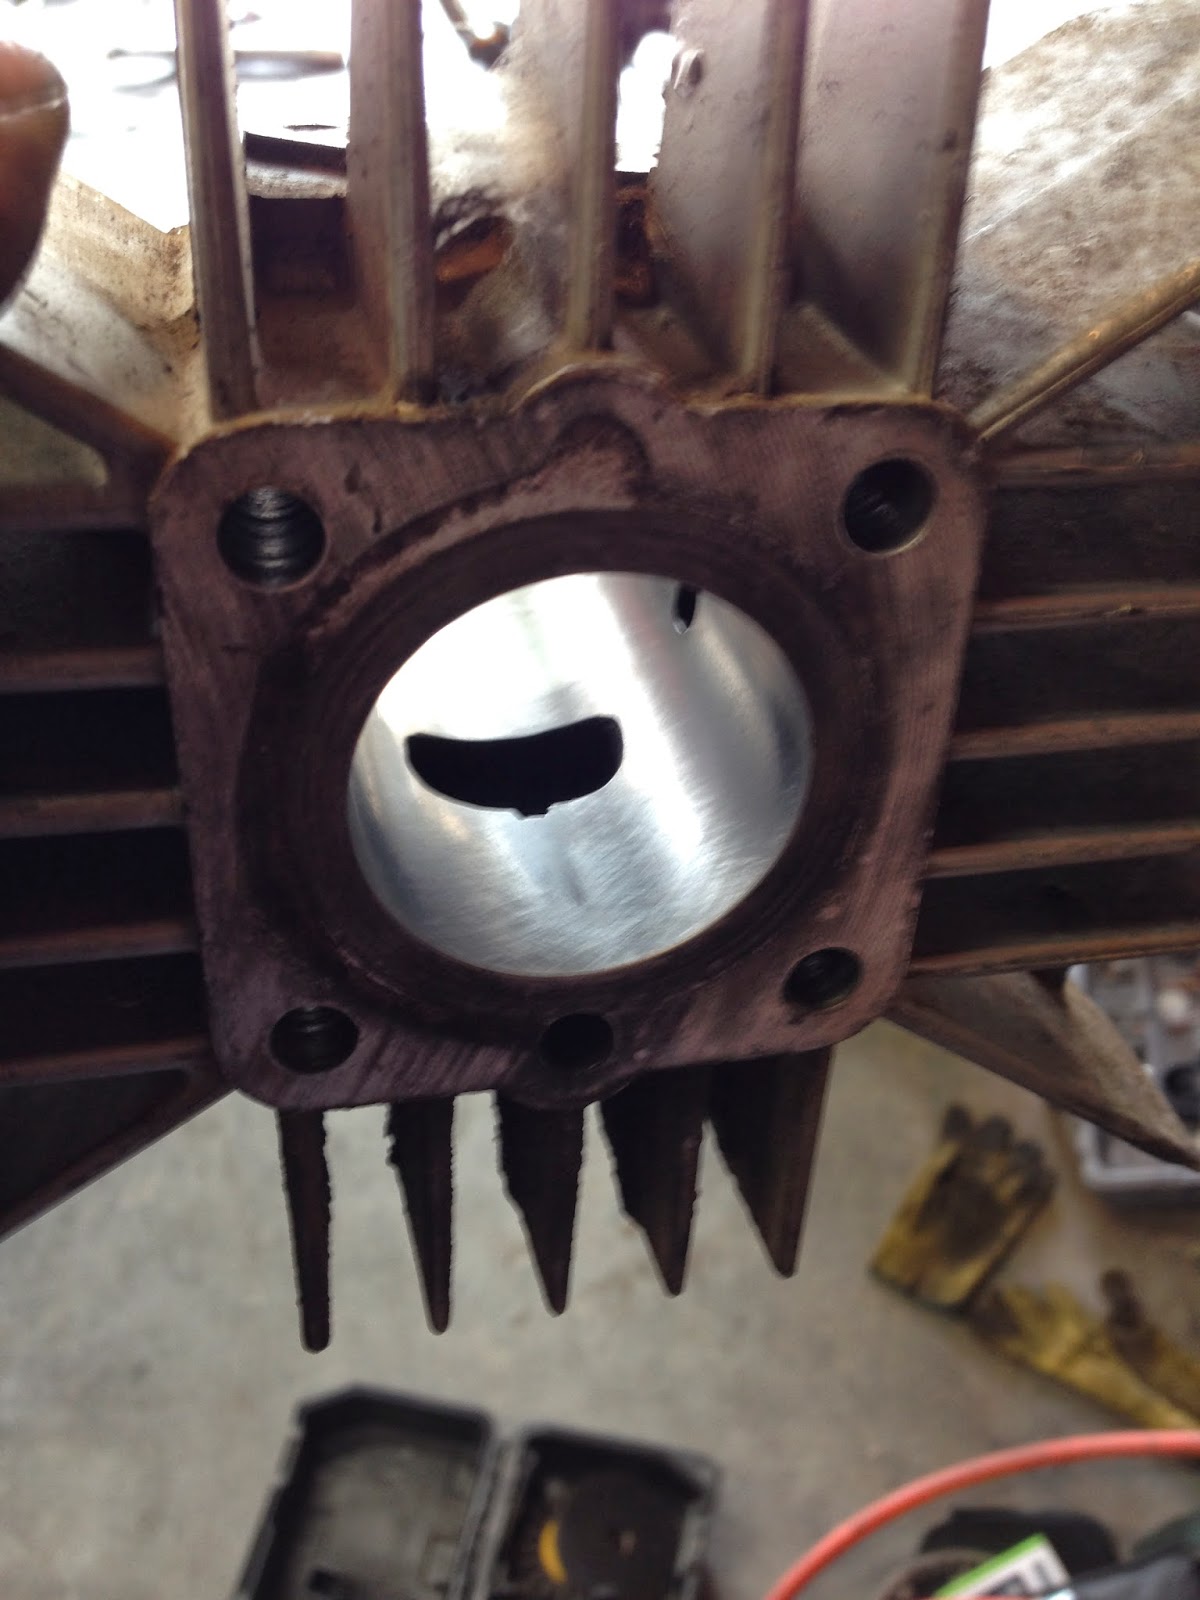
Next up was the derbi. Lots to do to this little guy. I made a puller for the clutch... hardware was $3 total. Had the parts lying around since last time I was home ;) Then I raised the exhaust port a little and resealed the engine (no leaks, knocks on wood). Thought I needed new crank seals but turns out pre-mix was just running down the electrical into the stator (no airfilter) sweet. For some reason, the condenser all the sudden quit working though - like instantly. I was out riding and got a GPS speed of 41 out of it and then it started backfiring. Points arced like a beast, so I did a condenser and all was well. Nothing changed timing wise it just up and quit. Weird/LAME. Can't wait to put digital ignition systems on all my bikes. I also made a CVT cover because the thing throws junk ALL over the frame. GPS speed of 41 was with lots of airleaks, so I'm leaning it out now that it's sealed up.
The weather in Inverness will be glorious. I can't wait. High today was like 40 and last night it was flurrying.
![]() |
| monitoring the switching pin on the microcontroller to make sure it isn't going to be fried. |
![]() |
| board prototype idea |
This happened the day before I left for spring break and was glorious. Spring break packin:
I'm working on making this ignition more physically robust and perhaps making a debut of it at Inverness. I still have a little to do moped wise though and a lot to do car wise. Old Yeller has to be gone through entirely for road worthiness as the 2 inch hitch on that car could likely haul both bikes. If it can't, I may be inclined to take brownie since I know his service record better and he has many "new" parts. Brownie needs the new sport exhaust package installed from IPD though, so that has to happen tomorrow if it ever shows up. I'd have to throw a bike on the roof though, and that coupled with is 4 speed transmission = terrible gas mileage.
Spring break wrenching 2014 first up was the maxi. I'll get some new pics of it posted some time before I leave maybe, but I added some chrome trim to the frame and it is CLASSY. Wiring is cleaned up, painted and detailed flywheel and finished up all the little stuff (like shortening the speedo cable). This bike is done for a while till it gets a reed kit. ZA50 geared at 21x37 and has so far been GPS'd at 51mph with all stock parts.
Next up was the derbi. Lots to do to this little guy. I made a puller for the clutch... hardware was $3 total. Had the parts lying around since last time I was home ;) Then I raised the exhaust port a little and resealed the engine (no leaks, knocks on wood). Thought I needed new crank seals but turns out pre-mix was just running down the electrical into the stator (no airfilter) sweet. For some reason, the condenser all the sudden quit working though - like instantly. I was out riding and got a GPS speed of 41 out of it and then it started backfiring. Points arced like a beast, so I did a condenser and all was well. Nothing changed timing wise it just up and quit. Weird/LAME. Can't wait to put digital ignition systems on all my bikes. I also made a CVT cover because the thing throws junk ALL over the frame. GPS speed of 41 was with lots of airleaks, so I'm leaning it out now that it's sealed up.
The weather in Inverness will be glorious. I can't wait. High today was like 40 and last night it was flurrying.
Sunday, March 9, 2014
Adafruit Trinket Ignition Static Timing Test + Pre-Inverness To-DO List
Here's a quick video of the bike running on a trinket controlled digital ignition. Static timing still needs to be verified and ignition needs to be calibrated, before messing with dynamic timing, but it runs and revs out. Rode it around the block before I had to put it away. Spring break is next week, so expect lots more updates.
My static code is pretty simple, sweet and short:
On the to-do list before inverness:
My static code is pretty simple, sweet and short:
On the to-do list before inverness:
- make adapter to mount homoet 6p to vespa or derbi for inverness
- rebuild the puchonda engine with the manual transmission
- tidy and pretty up the maxi
- fix the transmission in the general
- modify the 2" rack on Old Yeller to accept two mopeds
- make mounts for putting mopeds on the thule rain rail mounted rack
- make sure no more of my exhaust on Brownie is going to fall off
- last and foremost, get the trinket ignition off the SLA and running off of the vespa electrical
Saturday, January 25, 2014
ZA50 Transmission and Crankshaft Shimming
Shims
Shims for the transmission and crankshaft can be found on McMaster-Carr or hand made with sand paper, time and a flat surface. Stock numbers for mcmaster carr are below.![]() |
| clutch shaft diagram |
- 99432A364 - 0.127mm - Shim For Die Punches, .005" Thick, 3/4" Od, .595" Id
- 99432A366 - 0.381mm - Shim for Die Punches .015" Thick, 3/4" OD, .595" ID, packs of 10
- 99432A449 - 0.635mm - Shim for Die Punches .032" Thick, .595" ID, 3/4" OD, packs of 10
![]() |
| Gearshaft Diagram |
Generally, you'll use one 1.5mm shim to take up a majority of the space and then use the .1mm shims for final adjustment.
Gear shaft:
- 98055A117 - Metric Spring Steel Shim - Din 988, 0.1mm Thick, 10mm Id, 16mm Od
- 98089A123 - Metric 18-8 Stainless Steel Shim, 1.5mm Thick, 10mm Id, 16mm Od
Crankshaft Diagram
Crankshaft L17 side:
- 98089A230 - Metric 18-8 Stainless Steel Shim .1mm Thick, 18mm ID, 25mm OD, packs of 25
- 98089A270 - Metric 18-8 Stainless Steel Shim .2mm Thick, 18mm ID, 25mm OD, packs of 25
Crankshaft E20 side:
The only shims not available from McMaster are the 0.005mm shims for the L17 side - these are for the time being available from treatland.tv
End play float adjustment can also be done on the crankshaft by cutting multiple or individual case gaskets of differing thicknesses than stock. Measure your end play float and compensate with the appropriate paper thickness. When you're ready to cut your own gasket, us Mustachio's gasket template. Make sure to not scale the print to page size when you print and print it in actual size. You can download the case gasket template here. Stock gasket thicknesses are in the range of 0.2-0.25mm. The material I usually use ends up being a compressed thickness of 0.22mm. Card-stocks will get you differing thicknesses.
Tools
The only tool you really need to properly build these motors is the crankshaft shimming tool - everything else can be done with plastigauge or calipers and a straight edge. I highly suggest shipping your motor off with the gasket you intend to use to someone with the tool before installing your other bearing. Removing the bearings to change the shimming is difficult to do without damaging the bearing. Feel free to contact me and ship your motor to me.
The transmission shim tool is in my opinion not necessary with the use of plastigauge which is available at any automotive store. Place a small bit of the plastigauge between two of the shims or the shim and bearing and use the gauge to measure the gap. I usually place two pieces 180* out or even four pieces 90* out to make sure that equal pressure is applied to the plastigauge. Make sure to install the gasket and torque all of your case cover bolts down to spec where you will be running it, then and only then, remove your case cover and measure the plastigauge. Adjust your shims according to your readings and re-measure. Continue until your readings are reasonable. I usually shoot for tighter tolerances the more power I'm putting through, but as long as you're within specs, you're good.
Monday, January 20, 2014
Mid January Stuff
When I got back to my own things, I reassembled the CB125 with new rings and fixed the old tach cable with a junkyard speedo cable. The tach works, but the 125 still hits a wall at 55mph. It runs better, but still like crap. New cylinder is in order this summer (or maybe an overbore piston?). I just drilled out the old fitting that went in the case, and soldered the "new" cable in. I pulled it out of some 70's muscle car.
Then before I left last weekend, I welded a new bung on the maxi!!! Woooo! Doesn't leak either! This weekend, I got to finish it up and take it for a ride. It was glorious. Check out the top speed... I've got 4mph left to find... 55 was my old all time top speed and I even touched 60 (indicated) once. That was with my homoet 6p though and I'm running an estoril chamber now. I also almost got hit in my dad's neighborhood because some idiot was not paying attention and almost hit me head on while I was sitting still at a stop sign...
Not pictured, is finalized baffle mounting for the Derbi, time spent building a failed concept design I've been working on and some aluminum welding I did with my lincoln pro-mig 135 (it's pretty horrible, but usable). Took forever playing with the settings to get it to feed without jamming and I'm welding with ArCO2 AND it's filthy aluminum (I did scrub it with a wire brush at least) but it's promising... the spraying thing really was weird... because there's no puddle and HOLY ballz batman, turn the wire feed speed up to 11!
Currently contemplating getting a second bottle for aluminum shielding and a second hose/gun/etc so I can swap quickly between steel and aluminum. I have a feeling I'll be wanting to swap often enough I won't be wanting to change liners.
Subscribe to:
Posts (Atom)